News · 3 Jun 2010 · MTW Editorial Team

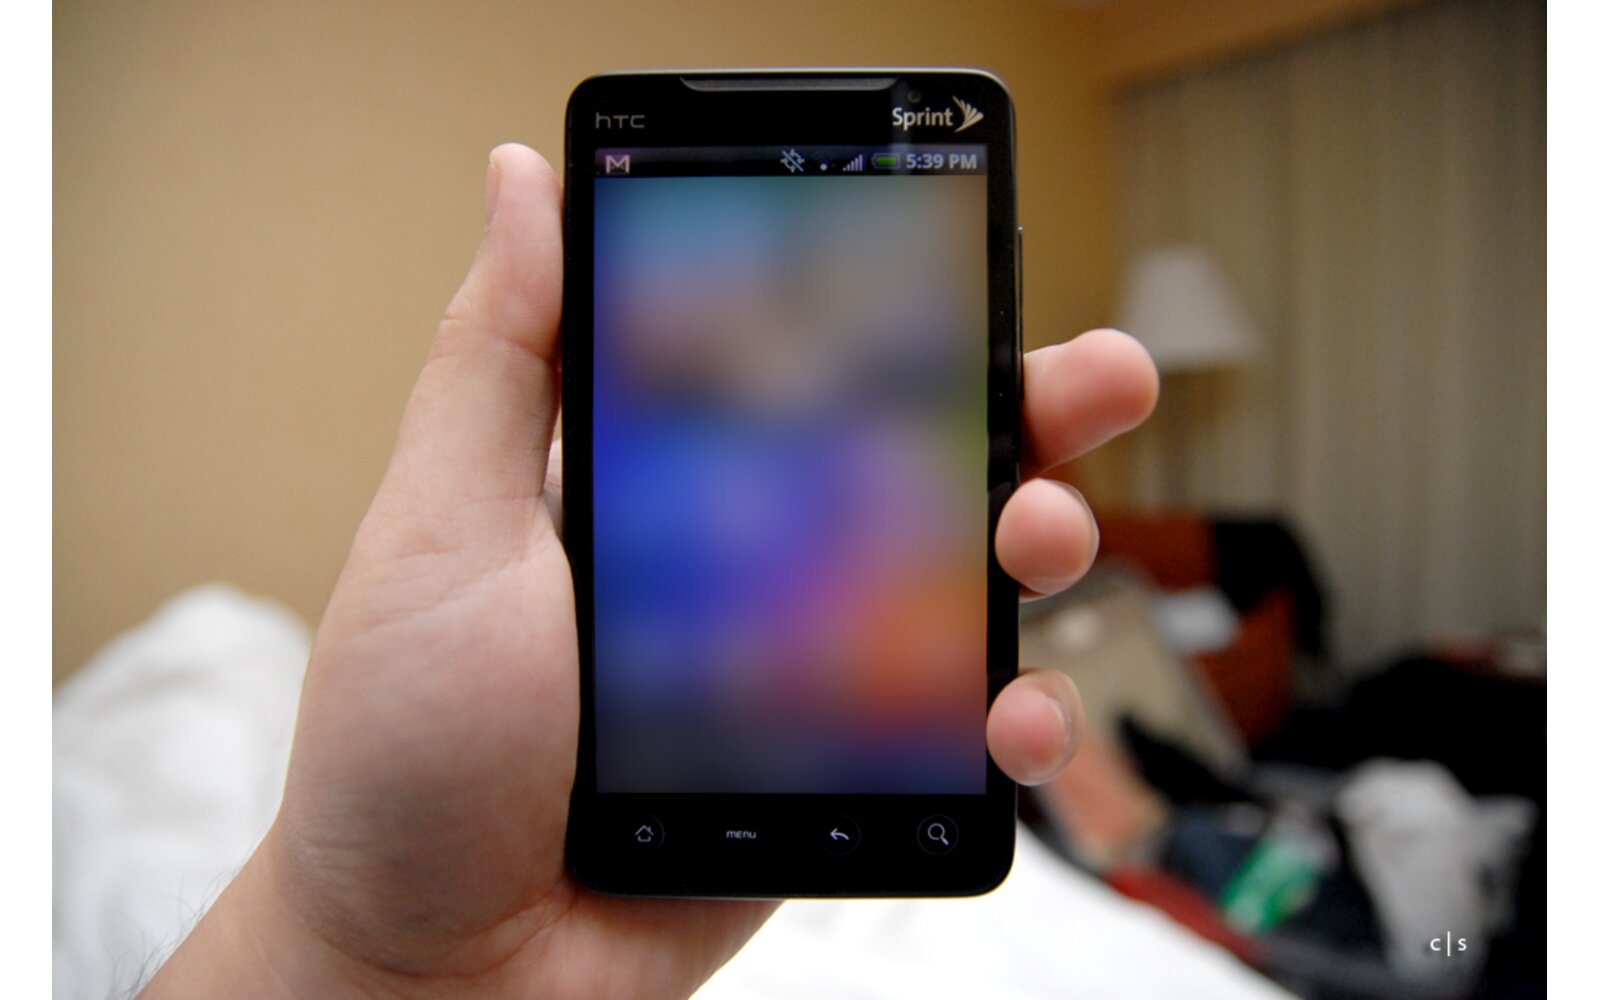
Ready for some hacking action? The XDA-Boys have posted the following instructions on how to your,soon-to-be-purchased, HTC EVO 4G if you really feel like doing it . Remember that this will void your warranty and can potentially brick your handset if your screw up the process. But this is currently the only way to get Android 2.2 (once the port is finalised) on the EVO 4G. So you will do this at your own risk? Follow the instruction after the break:
THINGS YOU WILL NEED:
download files below:
INSTUCTIONS FOR ROOTING:
– Put the PC36IMG.zip on the root of your sdcard
Code:adb push PC36IMG.zip /sdcard– Power off the phone
– Hold volume down while powering the phone on. continue to hold volume down until you see the WHITEbootloader screen.
– After a few seconds it will begin to checking for files, and find PC36IMG.zip. while its doing this it will show a blue progress bar while its checking. (this takes 30 – 60 seconds to finish)
– It will then list all the images in the zip and ask you if want to flash. SAY YES
– When its finished it will ask you if you would like to reboot. AGAIN… SAY YES
– At this point it will boot into a rooted rom.
– YOU ARE NOW ROOT!!!
– rename the PC36IMG.zip on your sdcard:
– plug your phone into a usb port on your desktop and do:Code:adb shell mv /sdcard/PC36IMG.zip /sdcard/root-PC36IMG.zipRECOVERY INSTRUCTIONS:
– Extract the evorecovery.zip to your desktop
– plug your phone into a usb port on your desktop
– In a shell:Code:adb reboot recovery– this will reboot your EVO into recovery mode. at this point turn your attention to the directory u extracted the evorecovery.zip to.
Code:For Windows XP ~~> Run recovery-windows.bat For Vista and Windows 7 do it as Admin– in a shell do:
Code:For Linux ~~> ./recovery-linux.sh– at this point turn your attention to the phone and navigate to create a Nandriod Backup. you can now flash custom roms, write, and make changes to system.
– to flash a custom rom put the rom on the root of your sdcard. wipe data, dalvic cache and chose the option to flash update.zip from sdcard.
RECOVERY NAVIGATION:
–
Code:Volume up/down moves through the list and Power selects.RECOVERY SOURCE:
– http://github.com/jhansche/amonra_bo…ree/supersonic
Code:git clone git://github.com/jhansche/amonra_bootable_recovery.git git checkout supersonic
For more help and support head over to the XDA-Forums
Buyer action
Where to buy or check next
Use this as the final check before ordering a phone, changing network or trusting a headline monthly price.